Expand Aurora VM disk on Unraid and resize partitions
Posted on Fri, 24 Apr 2026 in Linux
Expand Aurora VM disk on Unraid and resize partitions
I ran out of space on my Aurora Linux distribution test. Since I run it as a VM on my Unraid NAS, I simply increased the virtual disk and then resized the partitions inside the OS.
This is a Fedora Kinoite-based distribution (OSTree/bootc images) from the Universal Blue project, which uses a Btrfs filesystem with subvolumes.
Initial disk situation
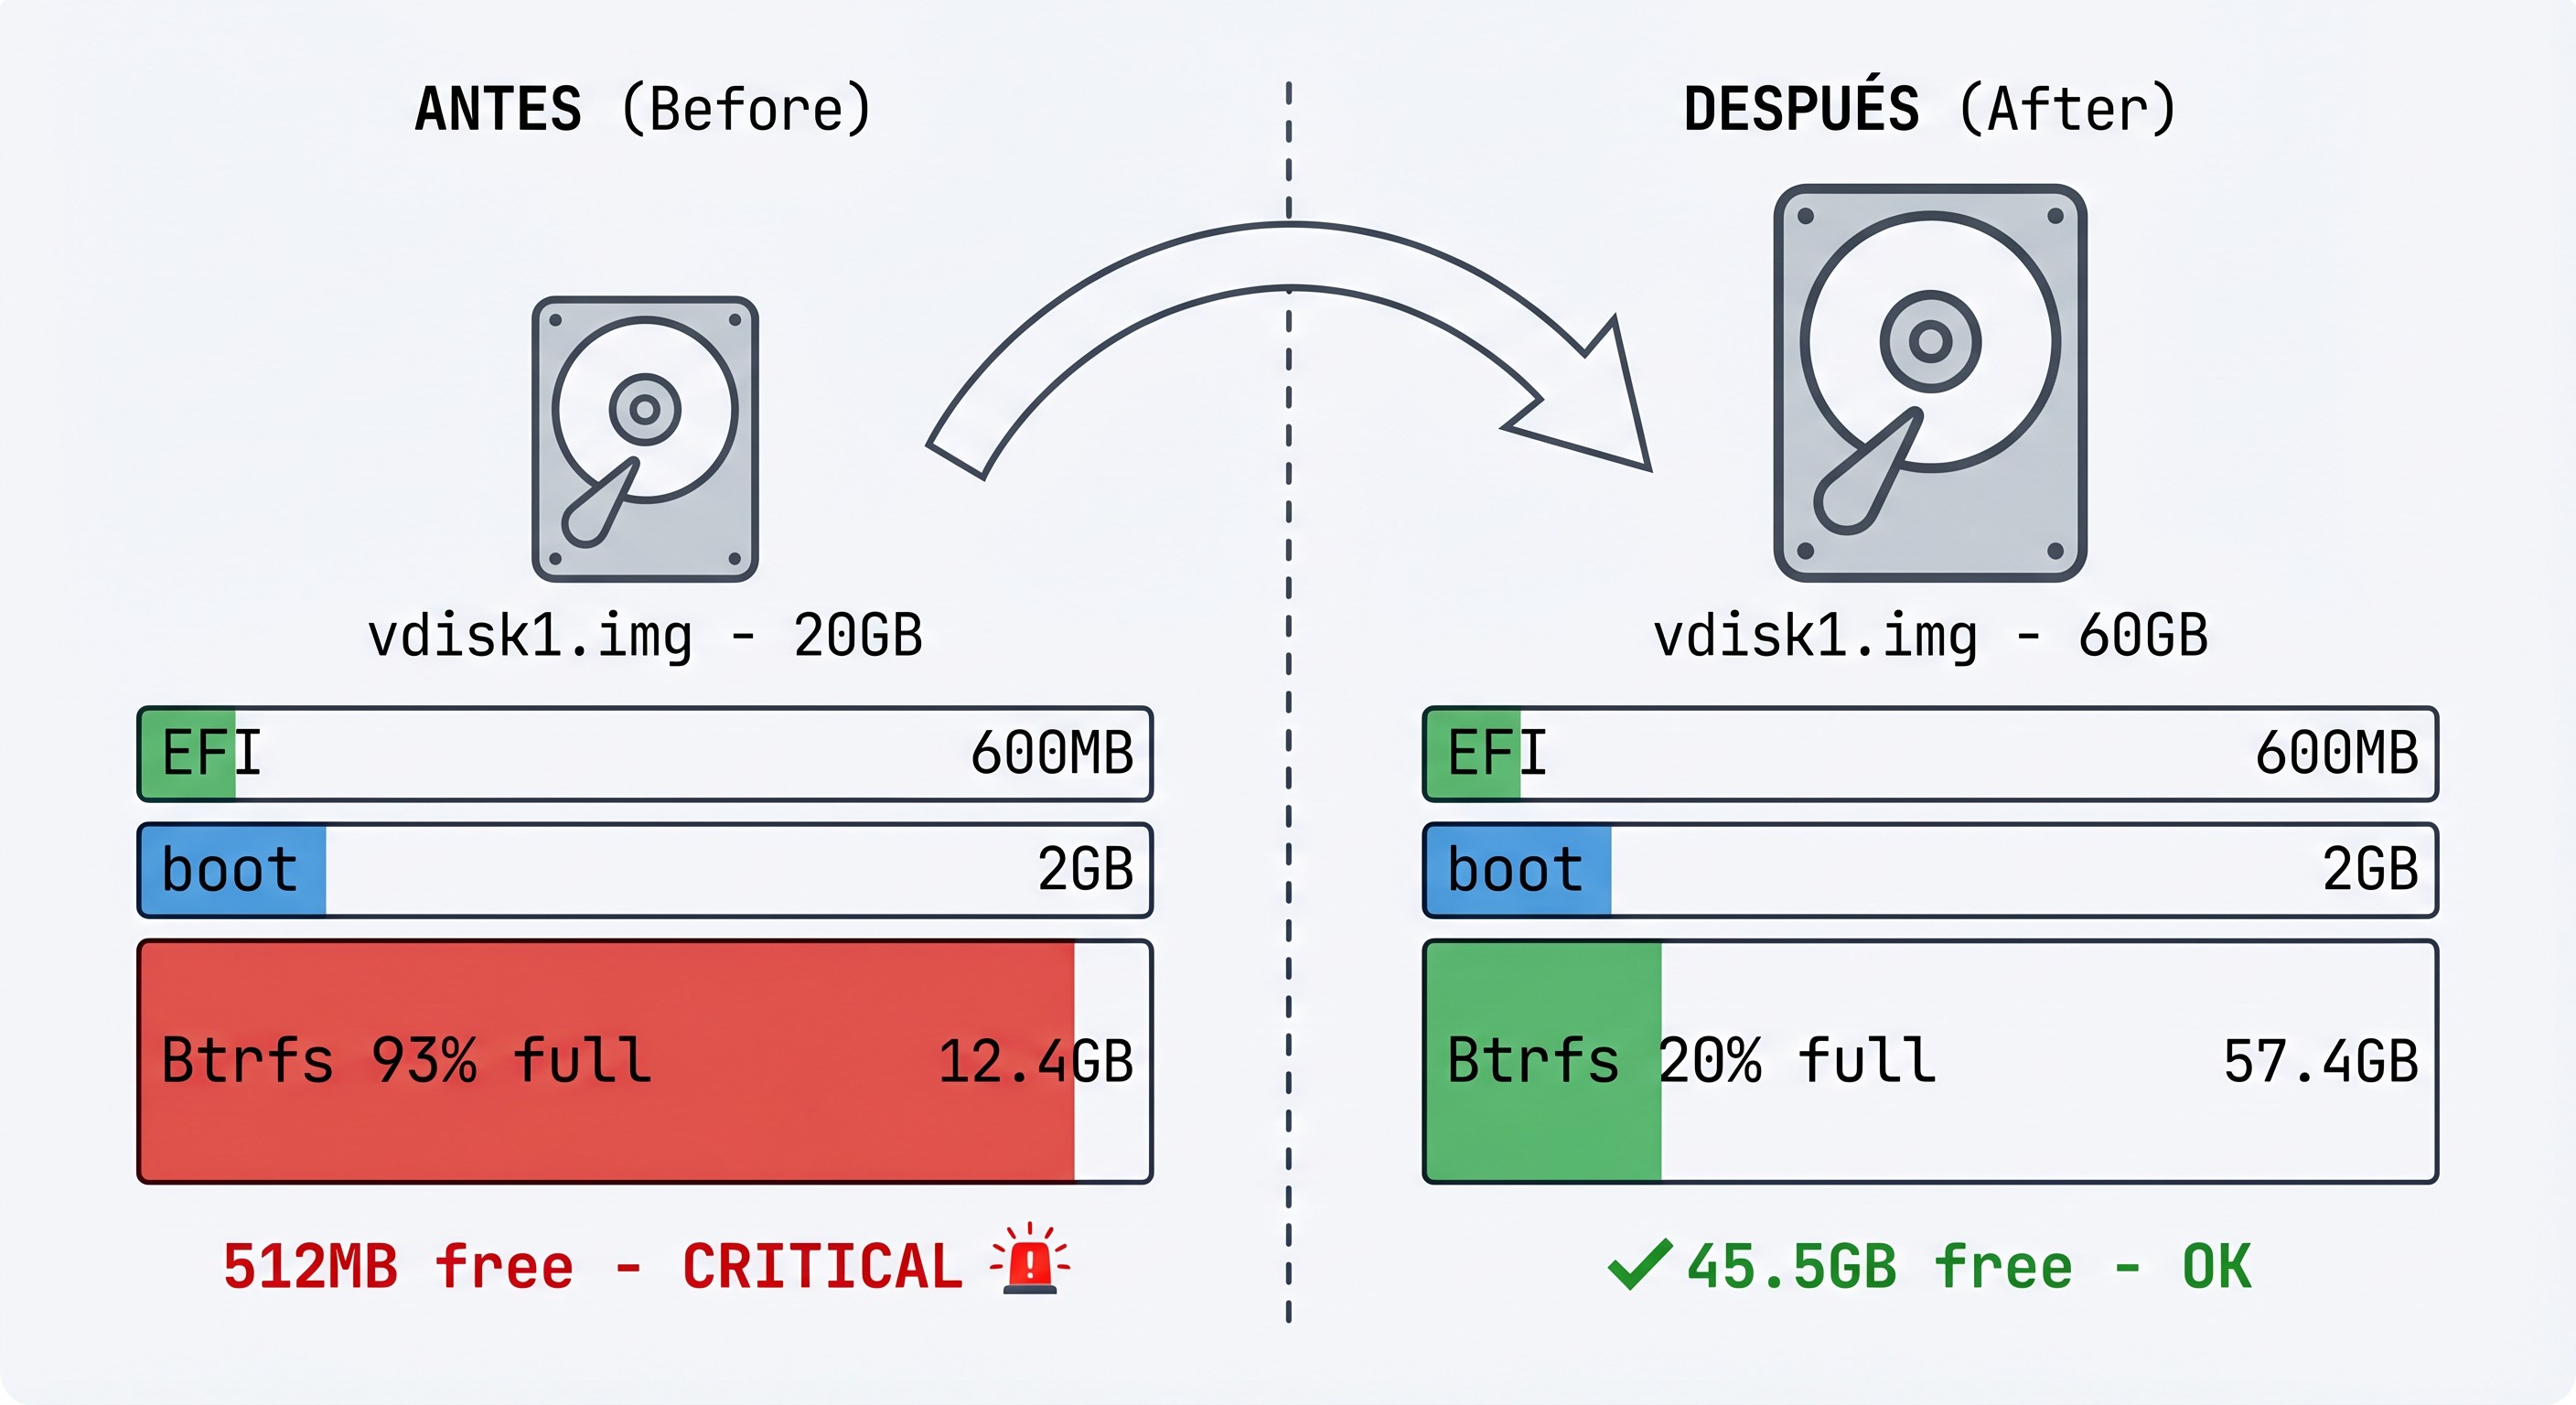
Before expansion, the disk had approximately 20GB and the main partition was at its limit:
NAME   MAJ:MIN RM  SIZE RO TYPE MOUNTPOINTS
vda    253:0    0   60G  0 disk
├─vda1 253:1    0  600M  0 part /boot/efi
├─vda2 253:2    0    2G  0 part /boot
└─vda3 253:3    0 12,4G  0 part /var/home, /var, /etc...
The Btrfs filesystem showed:
Device size:         12.41GiB
Device unallocated:    1.00MiB
Free (estimated):    512.12MiB (min: 512.12MiB)
Usage:               93%
Step 1: Expand the disk on Unraid
From the Unraid terminal, with the VM powered off:
# Shut down the VM
virsh shutdown Aurora

# Expand the disk to 60GB (tripling the original size)
qemu-img resize -f raw /mnt/user/domains/Aurora/vdisk1.img 60G

# Verify the new size
ls -lh /mnt/user/domains/Aurora/vdisk1.img
qemu-img info /mnt/user/domains/Aurora/vdisk1.img

# Start the VM
virsh start Aurora
Step 2: Install growpart on Aurora
Aurora is an immutable OSTree-based system, so I needed to install the growpart tool using rpm-ostree:
# Install cloud-utils-growpart
sudo rpm-ostree install cloud-utils-growpart

# Reboot (required after rpm-ostree install)
systemctl reboot
Step 3: Expand the partition
Once the system rebooted, I expanded partition 3 to occupy all the disk space:
# Expand partition 3 on /dev/vda
sudo growpart /dev/vda 3
Output:
CHANGED: partition=3 start=5425152 old: size=26030080 end=31455231 new: size=120403935 end=125829086
Step 4: Resize the Btrfs filesystem
Aurora uses a special structure with multiple Btrfs subvolumes:
root(ID 256) - base system (mounted read-only on /sysroot)home(ID 257) - user directoriesvar(ID 258) - system variables
The trick is that /sysroot is mounted as read-only (because it's an immutable OSTree), but I can do the resize from any writable mount point of the same Btrfs filesystem:
# Resize from /var (which has write access)
sudo btrfs filesystem resize max /var
Output:
Resize device id 1 (/dev/vda3) from 12.41GiB to max
Final result
After resizing, the Btrfs filesystem shows:
Device size:         57.41GiB    ← Was 12.41GiB ✓
Device unallocated:  45.00GiB    ← Available space
Device slack:          3.50KiB   ← Was 45.00GiB ✓
Free (estimated):    45.50GiB    ← Free space to use
Usage:               ~20%        ← Was 93%
Verifying with lsblk:
NAME   MAJ:MIN RM  SIZE RO TYPE MOUNTPOINTS
vda    253:0    0   60G  0 disk
├─vda1 253:1    0  600M  0 part /boot/efi
├─vda2 253:2    0    2G  0 part /boot
└─vda3 253:3    0 57,4G  0 part /var/home, /var, /etc...
Command summary
# === ON UNRAID (VM off) ===
qemu-img resize -f raw /mnt/user/domains/Aurora/vdisk1.img 60G

# === ON AURORA ===
sudo rpm-ostree install cloud-utils-growpart
systemctl reboot
sudo growpart /dev/vda 3
sudo btrfs filesystem resize max /var

# === VERIFY ===
lsblk
df -h /var
df -h /var/home
df -h /etc
sudo btrfs filesystem usage /var
Important notes
-
OSTree systems: On immutable distributions like Aurora, the base system is read-only. The resize must be done from a writable subvolume (
/var,/etc, or/var/home). -
Btrfs is dynamic: Space in Btrfs is allocated dynamically to subvolumes as needed. There's no need to assign specific space to each subvolume.
-
Reboot required: After
rpm-ostree install, you always need to reboot for changes to take effect. -
Backup: Although the process is safe, it's always recommended to have a backup before operating on partitions.